Light Basics
Welcome to the first of the series of lessons on becoming a mindful photographer. This lesson discusses why it’s worth understanding your camera and using the manual mode and focuses on the basics of light.
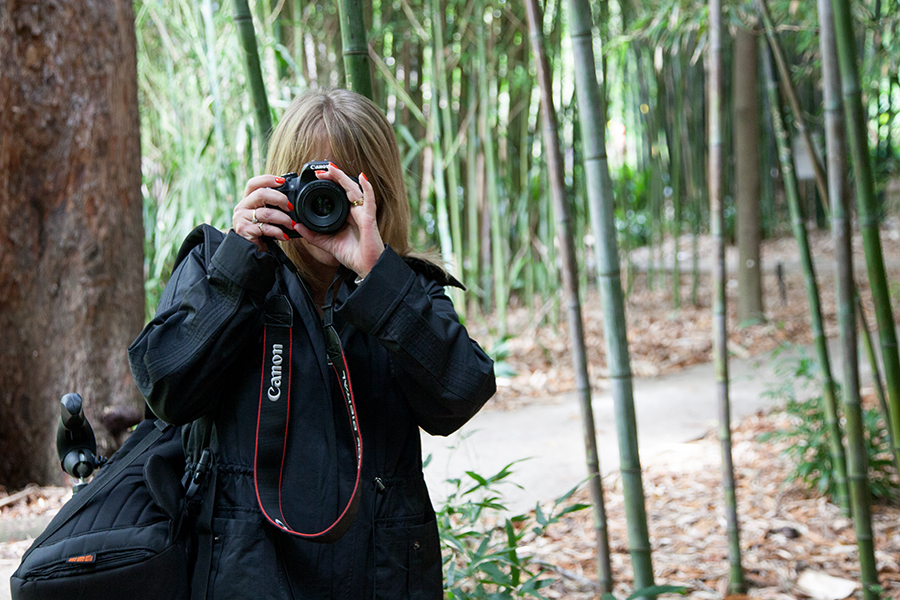
Using your camera in manual mode is a great way to create a connection with the world around you. When you can control the settings on their camera, you get a sense of achievement with the images you create and a feeling of accomplishment you get through expressed thoughts.
If you haven’t got a DSLR, you can always download an app to replicate some of the functions. See a couple of my favourite apps in the app store.
VSCO Manual control of focus, shutter speed, ISO, and white balance.
Camera+ 2 Long exposures and controlling background blur in portraits.
The appreciation of the visual elements, once guided to notice, offers a great way focus on what is in front of you. Looking for colours, lines, shapes, textures, light and shadow creates a connection with the outer world.
Light basics
We only see light when it is reflected off something or we look directly at the source. Light travels in a straight lines. Imagine a typical outdoor scene with the sun shining brightly on a tree.
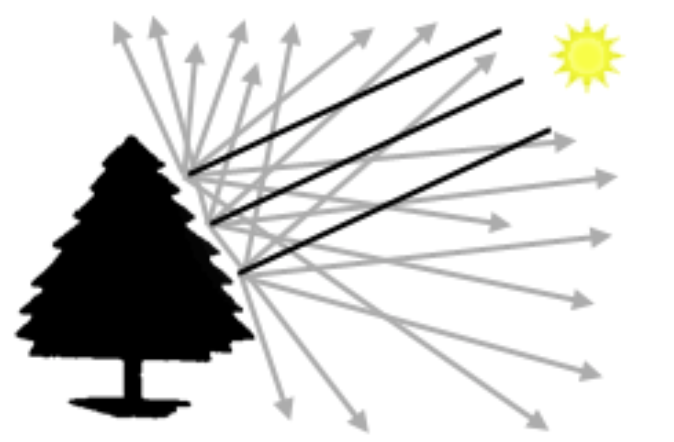
The light from the sun travels in parallel rays, shown here in black. When they hit the tree, the light is scattered in all directions, shown in grey. This is known as “diffuse” light. Because of diffuse light you can see the pretty tree, as some of this scattered light hits your eyes.

Now lets imagine we pitch a tent with perfect light blocking material and a tiny hole in one wall. To keep it simple, a single ray hitting the tree will diffuse in all directions, but only a very tiny sliver of that light will go through the small hole.
If you were sitting in this tent in the middle of the floor and you closed one eye and looked through the hole from there, you would only see a very tiny part of the tree at once. If you move to the right a bit, you will see the left of the tree. If you move up, you will see further down the tree. Your view of the tree is opposite to the direction of your movement.

Of course there is more than one ray of light hitting the tree. These rays reflect diffusely in all directions. This is why you can see more of the tree by moving around inside the tent. If we were to set up a screen in the tent opposite the hole, which is made of nice bright white material, we would actually be able to see an image of the tree, projected onto it!
For the reason that we saw parts of the tree in the opposite direction when we moved, the projected image of the tree appears upside down.

The room we just made in our imagination is called a “camera obscura” and you can make one just as I have described using a pringles can if you feel so inclinded. It’s a lot of fun and gives you great insight into how your camera works.
If the hole is bigger, then more light can get in, but that extra light comes from a bigger range of angles, and it overlaps nearby parts of the projected image.